[React, Next.js] react-beautiful-dnd를 사용하여 드래그로 순서 변경하기
라이브러리는 react-beautiful-dnd npm 사이트에서 가져와서 사용했다. react-beautiful-dnd Beautiful and accessible drag and drop for lists with React. Latest version: 13.1.0, last published: a year ago..
eundol1113.tistory.com
앞서 정리했던 블로그 코드를 기반으로 변형하였다.
다중 이미지 업로드 및 미리 보기 기능은 아래 블로그를 참고하였다.
이미지 다중 업로드 및 미리보기
리액트에서 어떻게 이미지를 여러장 업로드 시키고 미리보기를 어떻게 구현하는지 설명하려고 한다. 우선 input[type="file" multiple]을 통해 이미지를 업로드하면 다음과 같은 결과를 얻을 수 있다.
velog.io
Drag 컴포넌트에서 코드를 변화시키며 기능을 구현하였다.
1. 이미지 url을 담을 useState를 생성한다.
const [imgFiles, setImgFiles] = useState([]);2. jsx 부분에 이미지 파일 선택 할 수 있는 input과 이미지를 미리 보기 할 수 있도록 img 태그를 사용하여 컴포넌트를 구성한다.
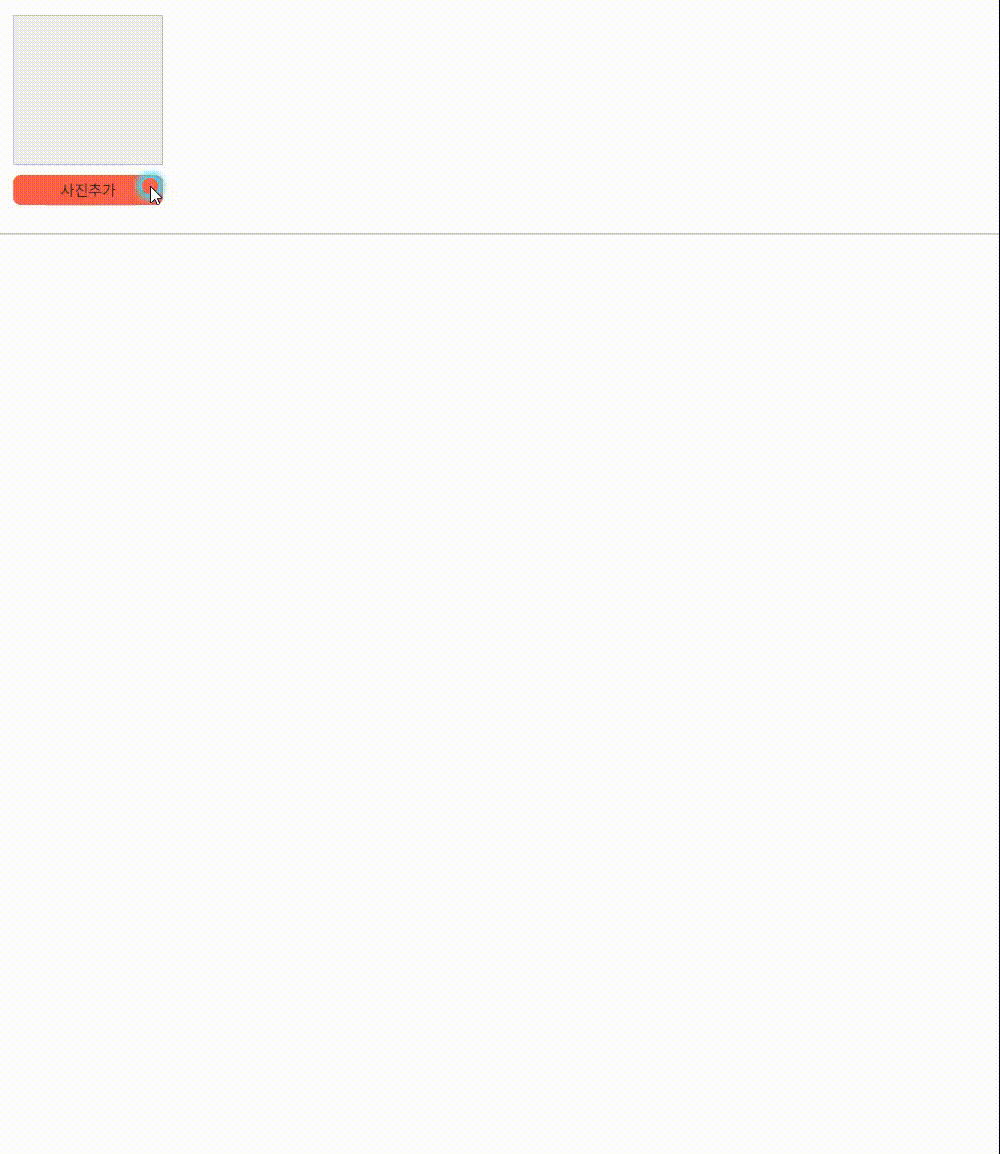
- 이미지 파일 선택하여 업로드할 수 있는 부분
<File>
    <img className="previewImg" />
    {/* label 태그의 for 속성과 input 태그의 id 속성의 값이 일치하면 label을 클릭 했으 때 file 기능이 동작한다. */}
    <div className="file">
      <label htmlFor="input-file" onChange={handleAddImages}>
        <input type="file" id="input-file" multiple />
        <span>사진추가</span>
      </label>
    </div>
</File>
const File = styled.div`
margin: 20px;
.previewImg {
background: #efefef;
width: 150px;
height: 150px;
}
.file {
label {
width: 150px;
height: 30px;
background: tomato;
text-align: center;
line-height: 32px;
border-radius: 8px;
margin-top: 10px;
}
input {
display: none;
}
}
`;
- 이미지 미리 보기 부분
{/* 드래그 영역 */}
<DragDropContext onDragEnd={handleChange}>
{/* 드래그 놓을 수 있는 영역 */}
<Droppable droppableId="DropLand">
{/* 드래그 Div 생성 */}
{(provided, snapshot) => (
// CCS가 적용된 Div
<DragContent {...provided.droppableProps} ref={provided.innerRef}>
{imgFiles.map((data, index) => (
<Draggable key={data.id} draggableId={data.id} index={index}>
{(provided, snapshot) => (
<Content
ref={provided.innerRef}
{...provided.draggableProps}
{...provided.dragHandleProps}
>
<img 🖐️
src={data.src}
width={50}
height={50}
alt={data.id}
/>
<button onClick={() => handleDeleteImage(data.id)}> 🖐️
삭제
</button>
</Content>
)}
</Draggable>
))}
{provided.placeholder}
</DragContent>
)}
</Droppable>
</DragDropContext>const Content = styled.div`
margin: 8px;
padding: 10px;
border: 1px solid lightgrey;
background: aliceblue;
border-radius: 2px;
`;3. 각 부분에 필요한 함수를 커스텀한다.
- 이미지 상대 경로 저장하는 함수
// 이미지 상대경로 저장
const handleAddImages = (event) => {
const imageLists = event.target.files;
let imageUrlLists = [];
for (let i = 0; i < imageLists.length; i++) {
const currentImageUrl = URL.createObjectURL(imageLists[i]);
imageUrlLists.push(currentImageUrl);
// id는 String 타입만 사용 해야 함 (Number 타입이면 오류남)
}
if (imageUrlLists.length > 10) {
imageUrlLists = imageUrlLists.slice(0, 10);
}
setImgFiles(
imageUrlLists.map((item, i) => {
return { id: String(i + 1), src: item };
})
);
};
- 이미지 삭제하는 함수
// 삭제 버튼 클릭 시 이미지 삭제
const handleDeleteImage = (id) => {
const newImgFiles = imgFiles.filter((item) => {
if (String(id) !== item.id) {
return item;
}
});
setImgFiles(newImgFiles);
};
- 이미지 순서 변경하는 함수
const handleChange = (result) => {
if (!result.destination) return;
const items = [...imgFiles];
const [reorderedItem] = items.splice(result.source.index, 1);
items.splice(result.destination.index, 0, reorderedItem);
setImgFiles(items);
};
+ 이미지 순서 변경 했을 때 결괏값 console에 찍어보기

전체 코드
// React 관련 요소
import { useEffect, useState } from "react";
// 드래그 요소
import { DragDropContext, Draggable, Droppable } from "react-beautiful-dnd";
// 스타일 정의
import styled from "styled-components";
const DragContent = styled.div`
border: 1px solid lightgrey;
`;
const DragLand = () => {
// window가 로드 된 시점에서 렌더링
const [winReady, setwinReady] = useState(false);
useEffect(() => {
setwinReady(true);
}, []);
return (
<>
{/* 윈도우, DOM 로드 시점에서 드래그 생성 */}
{winReady ? <Drag /> : null}
</>
);
};
// 드래그 요소 생성
export const Drag = () => {
const [imgFiles, setImgFiles] = useState([]);
const [showImages, setShowImages] = useState([]);
// 이미지 상대경로 저장
const handleAddImages = (event) => {
const imageLists = event.target.files;
let imageUrlLists = [];
for (let i = 0; i < imageLists.length; i++) {
const currentImageUrl = URL.createObjectURL(imageLists[i]);
imageUrlLists.push(currentImageUrl);
// id는 String 타입만 사용 해야 함 (Number 타입이면 오류남)
}
if (imageUrlLists.length > 10) {
imageUrlLists = imageUrlLists.slice(0, 10);
}
setShowImages(imageUrlLists);
setImgFiles(
imageUrlLists.map((item, i) => {
return { id: String(i + 1), src: item };
})
);
};
// 삭제 버튼 클릭 시 이미지 삭제
const handleDeleteImage = (id) => {
const newImgFiles = imgFiles.filter((item) => {
if (String(id) !== item.id) {
return item;
}
});
setImgFiles(newImgFiles);
};
const handleChange = (result) => {
if (!result.destination) return;
const items = [...imgFiles];
const [reorderedItem] = items.splice(result.source.index, 1);
items.splice(result.destination.index, 0, reorderedItem);
setImgFiles(items);
};
return (
<>
<File>
<img className="previewImg" />
{/* label 태그의 for 속성과 input 태그의 id 속성의 값이 일치하면 label을 클릭 했으 때 file 기능이 동작한다. */}
<div className="file">
<label htmlFor="input-file" onChange={handleAddImages}>
<input type="file" id="input-file" multiple />
<span>사진추가</span>
</label>
</div>
</File>
{/* 드래그 영역 */}
<DragDropContext onDragEnd={handleChange}>
{/* 드래그 놓을 수 있는 영역 */}
<Droppable droppableId="DropLand">
{/* 드래그 Div 생성 */}
{(provided, snapshot) => (
// CCS가 적용된 Div
<DragContent {...provided.droppableProps} ref={provided.innerRef}>
{imgFiles.map((data, index) => (
<Draggable key={data.id} draggableId={data.id} index={index}>
{(provided, snapshot) => (
<Content
ref={provided.innerRef}
{...provided.draggableProps}
{...provided.dragHandleProps}
>
<img
src={data.src}
width={50}
height={50}
alt={data.id}
/>
<button onClick={() => handleDeleteImage(data.id)}>
삭제
</button>
</Content>
)}
</Draggable>
))}
{provided.placeholder}
</DragContent>
)}
</Droppable>
</DragDropContext>
</>
);
};
const Content = styled.div`
margin: 8px;
padding: 10px;
border: 1px solid lightgrey;
background: aliceblue;
border-radius: 2px;
`;
const File = styled.div`
  margin: 20px;

  .previewImg {
    background: #efefef;
    width: 150px;
    height: 150px;
  }

  .file {
    label {
      width: 150px;
      height: 30px;
      background: tomato;
      text-align: center;
      line-height: 32px;
      border-radius: 8px;
      margin-top: 10px;
    }

    input {
      display: none;
    }
  }
`;
export default DragLand;'🧠 지식창고 > 기능' 카테고리의 다른 글
| [Next.js] 수평 dnd 만들기 (2) | 2022.07.04 |
|---|---|
| [React] 마우스로 드래그 스크롤 구현하기 - 라이브러리 O (0) | 2022.07.04 |
| [React, Next.js] react-beautiful-dnd를 사용하여 드래그로 순서 변경하기 (0) | 2022.06.28 |
| [JS] 객체 👉 배열 / 배열 👉 객체 (0) | 2022.05.27 |
| [React] 방 추가, 삭제 기능 만들기(객체 삽입, 삭제, 수정) (0) | 2022.05.24 |


댓글